15% SUMMER DISCOUNT
We are currently offering a 15% Discount off all our Cushion Refilling Services.
Just mention…
'SUMMER DISCOUNT'
Our Cushion Refilling Process
Here we describe the numerous stages we need to go through in order to professionally refill your cushions… you'll see that there's a great deal more expertise needed than just putting a cut piece of foam in your cover and hoping it will look correct!
The majority of customers' cushions we receive require a 'domed' shape to be created in order to correctly fill the cover, and most importantly, STAY correctly filled, long term.
As an example here's the process we go through to create a typical cushion of this type…
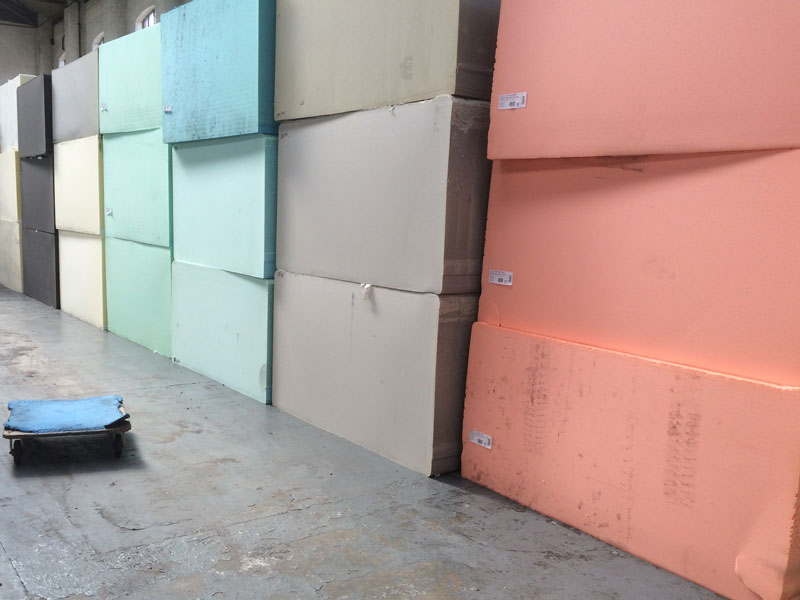
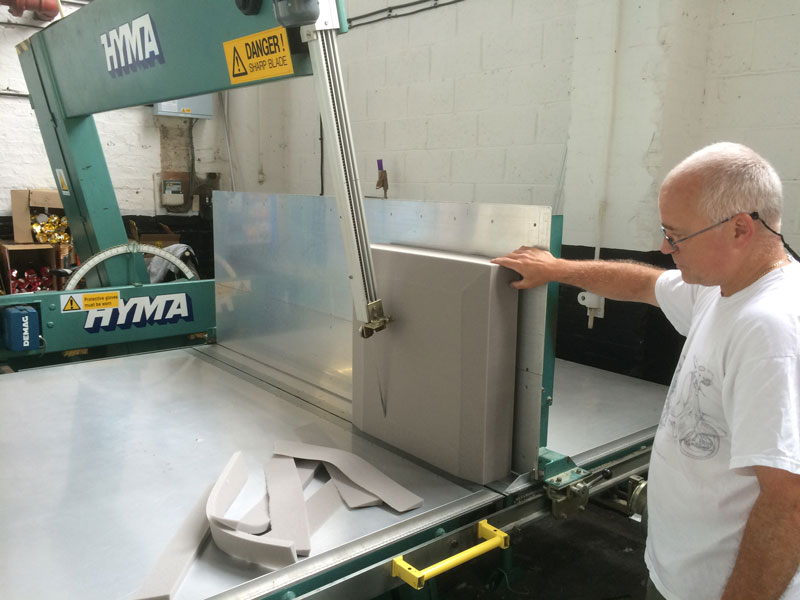
1We select the correct new block from our vast selection of foams.
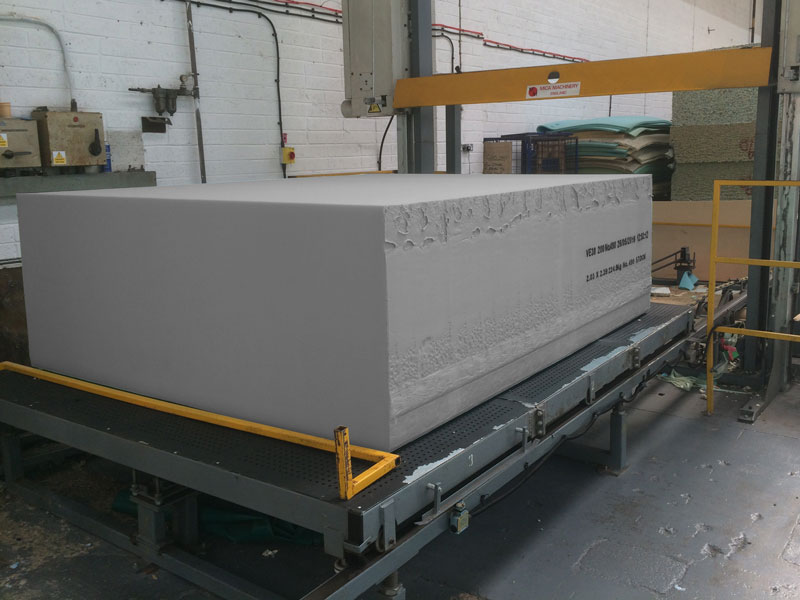
2The huge ¼ tonne block is sliced down to a manageable size!
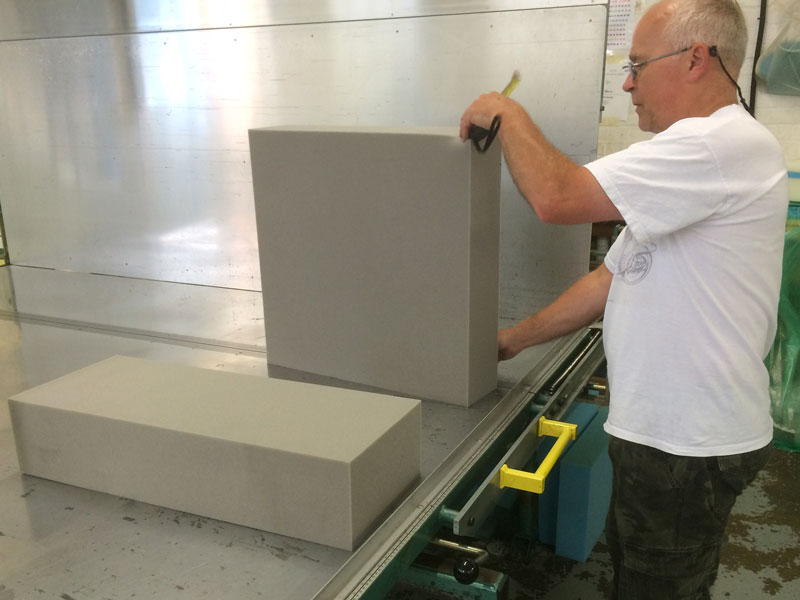
3We carefully cut the correct overall size required for the cushion. If you were having your cushions refilled elsewhere, by just inserting a new cut piece of foam, this would be the end of the process!
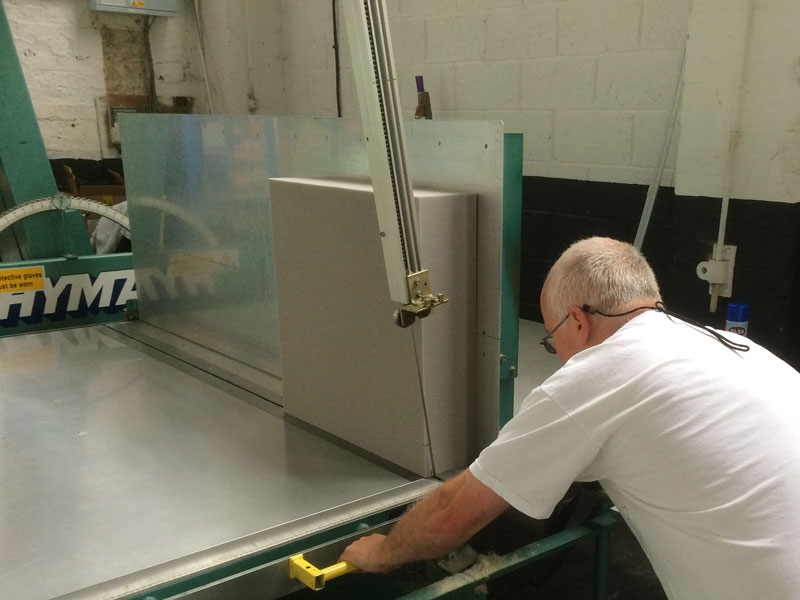
4However, our process continues by using a specialist angled band knife, which has been set up to the correct measurement for the cushion.
5Our experienced foam cutter then begins to cut a 'chamfer' into the foam shape.
6You can see the angled chamfer being carefully cut from the cushion.
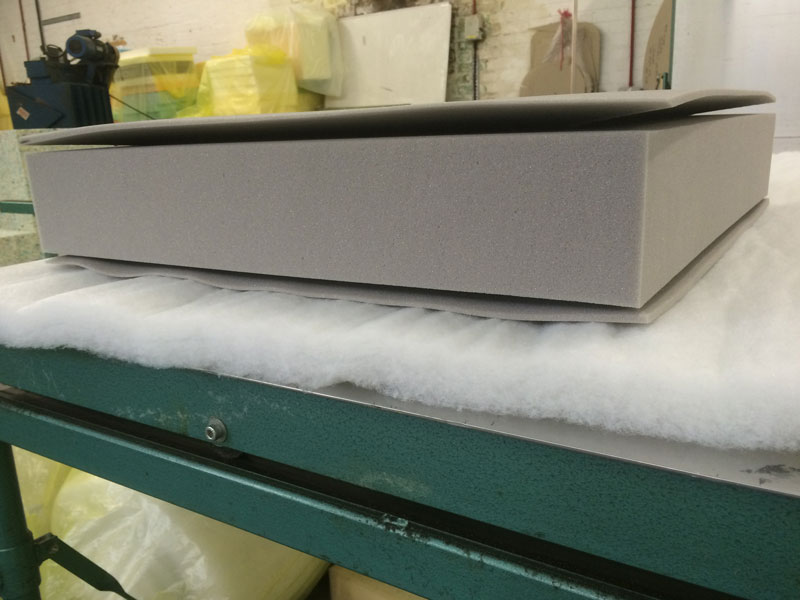
7All 8 sides of the cushion (i.e. both top AND bottom of the cushion) are now chamfered ready for assembly.
8A close-up of the chamferred edge we have created to both top and bottom of the foam.
9The chamfered top piece is then reversed and added to the flat centre core.
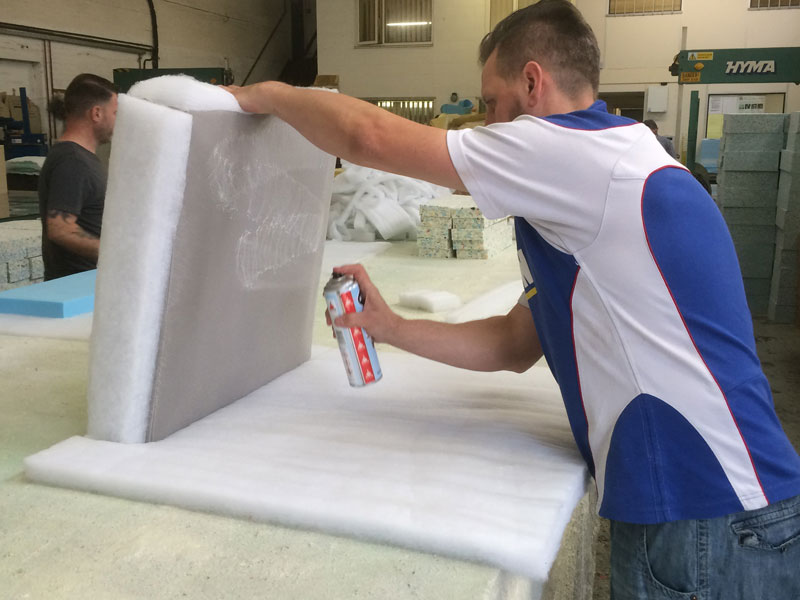
10These 3 pieces then move on to be bonded. Our specialist high strength adhesive is sprayed onto the components.
11We begin assembly of the components.
12The final piece is carefully bonded into position.
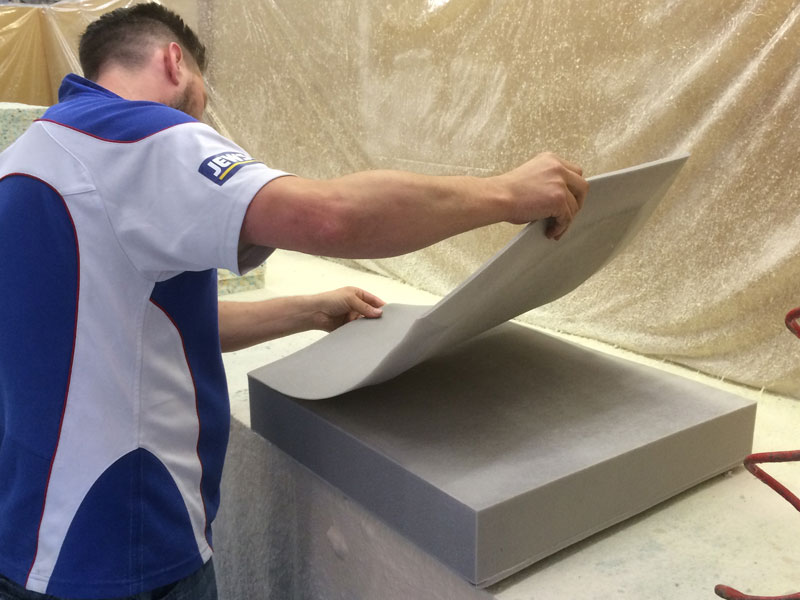
14Extra thick Dacron Wadding is prepared to be applied to the domed cushion.
15We apply specialist adhesive to the Wadding, to ensure it stays in place long term.
16The final piece is applied.
17We purposely overlap the sides, to ensure correct fullness of the cover.
18A final check that everything is correctly bonded.
19We always apply a stockinette undercover to protect the Wadding from movement of your cover.
20Our finished 'domed' cushion, sliced in half to show how taking the care and time to do the job properly, results in a completely filled domed cushion, with no gaps!
21This is an example of how most companies would try and 'dome' a cushion. As you can see, it would be very quick and easy to do, with no skill or specialist machinery needed, BUT with gaps that will quickly collapse within weeks of being sat on!
22You decide… Do you want to spend your money with someone doing the job cheaply (left)… or with our family-run company and have it done professionally (right)!
BEFOREThis is how a typical feather/fibre filled seat cushion looks when it arrives with us… Sagged, 'un-plumped' and with no comfort left!
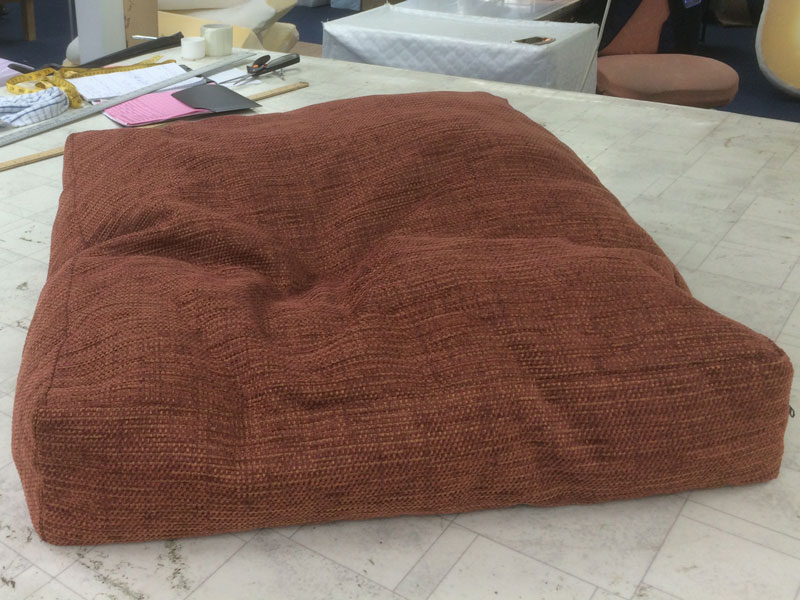
AFTEROur finished domed filling, carefully refitted to its cover. Not only does it look and feel correct now… but it will remain so long term.
To see how we may be able to make your furniture feel like new again, give us a call on Freephone , click here to use our online form, or drop us a line at
to find out more, including an approximate quote.
We promise you a friendly, professional response.